Google Chrome is an all-around great browser. It’s fast, responsive, and as standards compliant as browsers get. It’s one of the most essential tools for a web developer. I’m sure anyone who’s done some development with Chrome is very familiar with its outstanding developer tool, which comes built-in by default.
Being able to make and see various changes on the fly can really speed up your development, especially on the front-end. One of the best features of Chrome for development is actually hidden away under the settings of the developer tool, and this post will show you how to use it.
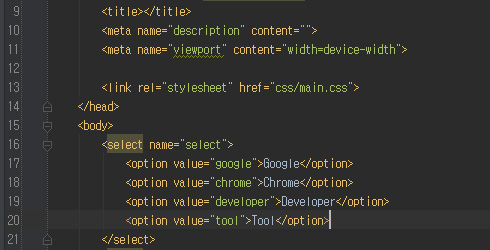
The usual workflow for laying out a page usually involves typing a bunch of tags on an html file, attaching a CSS file to it, and then styling the various elements of the page. Assuming that a browser, like Chrome, is used to quickly style various elements of a page, it usually involves many alt+tab’s, ctr+r’s, and probably some ctr+c’s and ctr+v’s.
It’s not a big deal, but quite tedious at the same time. Wouldn’t it be great if the changes that you’ve made on the browser can just be saved, so you don’t have to manually copy and paste them back into your files? Well, wouldn’t it? Since this isn’t a blog post for wishful thinking, say hello to “Workspace”!
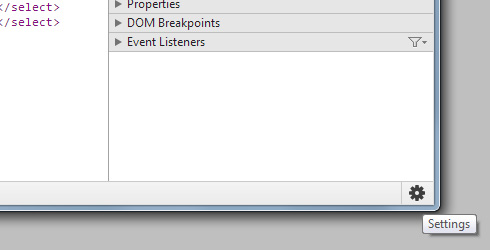
Let’s get right to it. First, open developer tool (F12), then click on the gear icon on the bottom right. This will open the developer tool settings.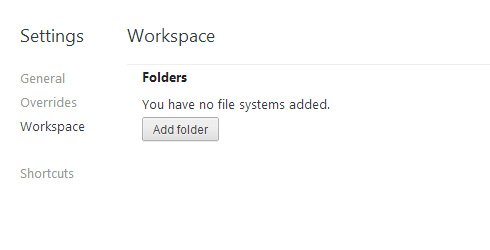
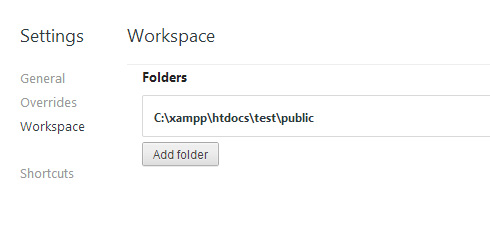
On the side bar to the left, select the “Workspace” menu. It’ll say that you have no file systems added, so let’s add one. Click the single button available, the “Add folder” button. It’ll open a new window, where you can browse for a folder. Locate the folder where the files for your project are located and click “OK.” You’ll get a notice at the top of the browser asking for your permission. Go ahead and “allow” it. Now back in the developer tool, you’ll notice the new folder that has been added.
Now close the settings and click on the “Sources” tab. You’ll notice your new folder there.
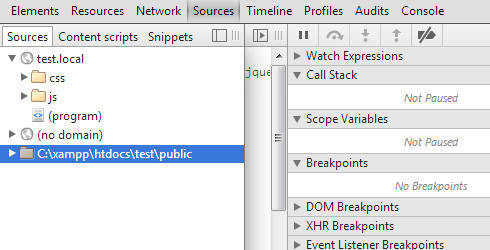
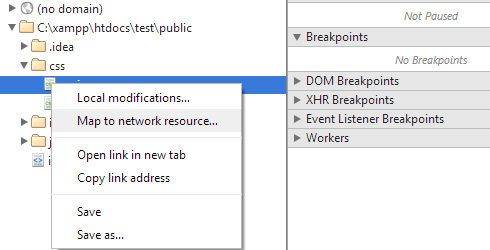
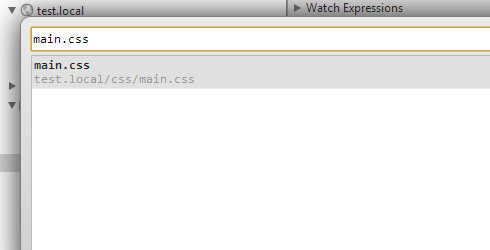
If you don’t already have your project open on the current tab, do it. Then open your project’s folder in the “Sources” and right click on a file. Click “Map to network resource,” and select the correct option.
Chrome will then ask you to restart the inspector (developer tool). Click “OK,” and we’re done!
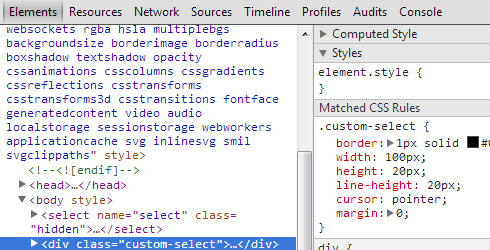
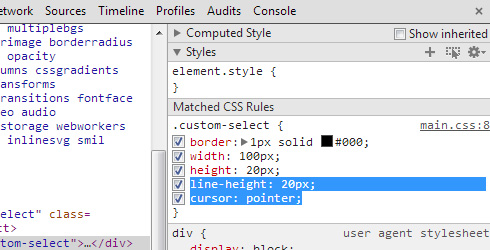
Now inspect and element that already has a CSS definition, and add a new style.
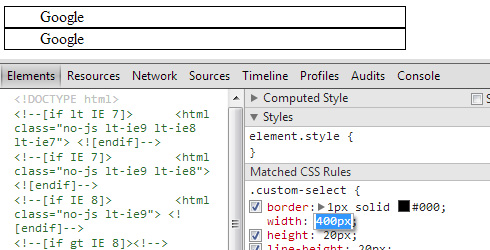
Open the CSS file linked to the style that’s been added, and you’ll see that the file has automatically been modified to reflect the changes. How awesome is that? One thing to remember is, any style added to the “element.style” and not to a “Matched CSS Rule” does not get saved. But don’t worry, if you need to add a new CSS definition, just go to the “Sources” tab, open the CSS file, and add the definition.
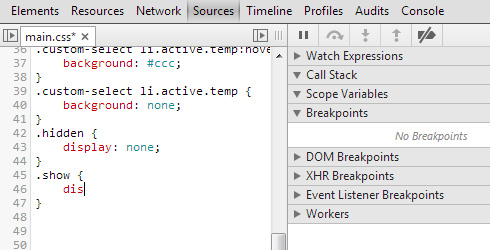
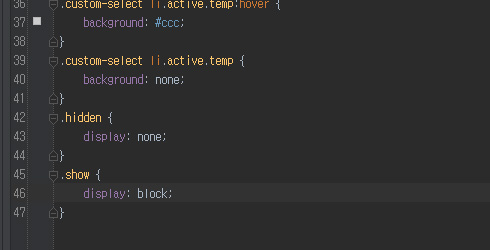
You can write the styles directly there as well, instead of using the inspector, and you’ll see that the changes are immediately applied on the browser. The * next to the file name, indicates that the file has been changed, so hit “ctr+s” to save the changes to the file. The read and write can work both ways with the files open in the “Sources” tab, so if your file was modified in your editor, and the “Sources” tab is selected with the modified files open, Chrome will immediately reflect those changes without refreshing!!
Using this technique, you hardly ever have to flip back and forth between your editor and the browser, or remember exactly what elements were changed and how, while solving tricky layout issues. Chrome will automatically save your changes for you, so if it looks good on the browser, you’ll know that your project files are also properly updated.
What other “hidden” features do you utilize in Google DevTools? Share your comments and questions below, or tweet us @Pixafy!